The stain finally arrived, so work has begun.
Future builders, staining at this point is not a good idea. See the note at the bottom of this post.
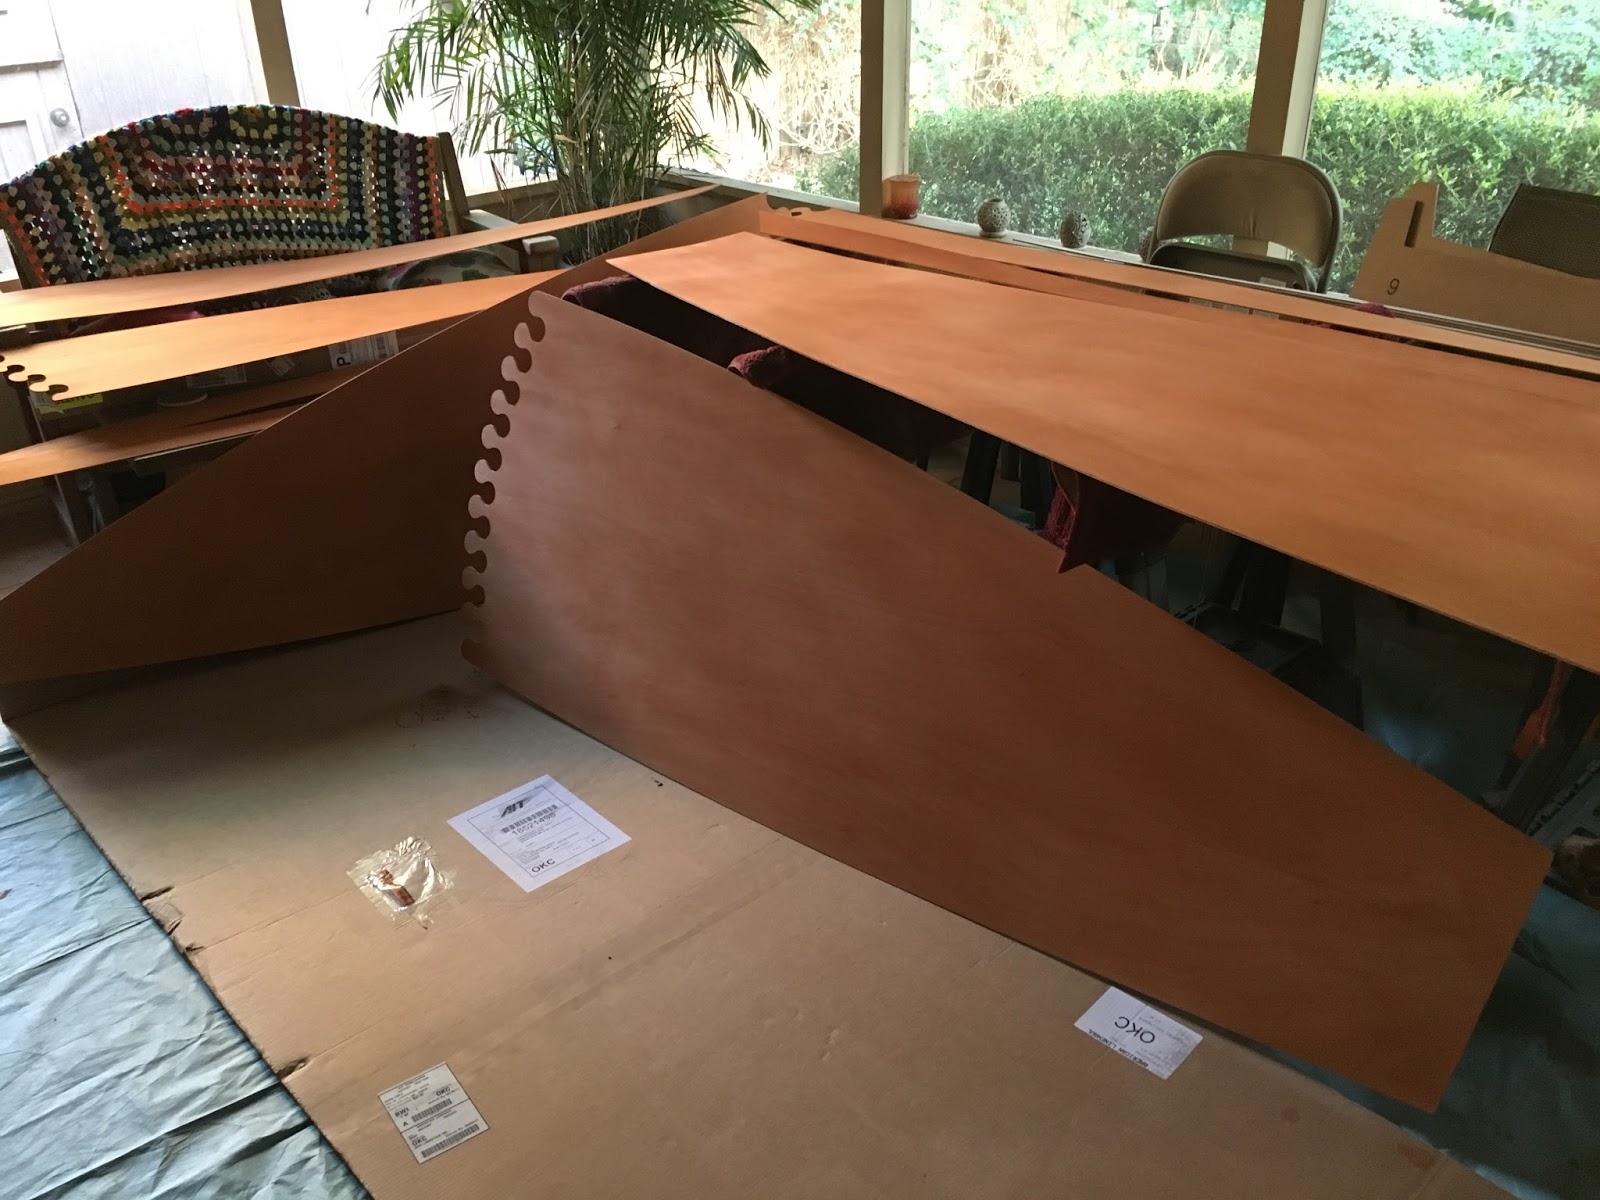
Here are most of the panels drying after staining with Behlen Solor-Lux NGR Dye stain. (NGR stands for non-grain-raising.) The color I decided on is called Golden Fruitwood. It is not terribly dark and I am hoping it will go well with my design scheme. It is an alcohol-based stain recommended by Chesapeake Light Craft as OK to use with epoxy.
This is the next day and I have coated the ends that have puzzle joints with epoxy to seal the stain. That is so that when I glue the joints, I can wipe up any squeeze-out with alcohol without removing any of the stain. The stain is supposed to dry in 5 minutes, but even though I waited 24 hours there was still some stain that came off on the epoxy roller.
It is recommended to seal the entire stained surface to protect it, but I decided not to. Since I will be fiberglassing these panels, epoxy sticks better to bare wood than it does to cured epoxy, and I want as strong a bond as possible. So I'll just have to be extra careful until the panels are fiberglassed.
NOTE: Those of you
planning to stain the project at this point, don’t! In the web ad for the SUPs, Chesapeake Light
Craft recommends a new stain that works well with epoxy, Behlen Solar Lux. The stain is fine, but CLC also recommends an
article on how best to use it, “Staining Your Kayak,” by Nick Schade. It’s a great article and his technique works
well, EXCEPT, in the first paragraph under Staining Stitch-and-Glue boats he says to stain the wood before
applying any epoxy. He goes on to say, “before
you glue scarfs or puzzle joints, i.e. the raw panels right out of the kit box.”
This is a terrible idea in my opinion. In a later post you will see that I had to
sand every bit of it off. There are many
reasons for this, the main one being you have to round all the sharp edges and
then try to come back and match the stain on those roundovers. I also feel it is important to fill all the
stitching holes with stainable wood filler, and no mater how careful you are
there will be epoxy runs and spills that have to be sanded off. And, even though this is marine plywood,
there are still some voids to fill. The
list goes on, but I think you can see the problems this method would
cause. If you follow it you are going to
have a blotchy stain job, I can almost guarantee.
My recommendation is to assemble the paddle board and sand
it properly after filling all the voids, holes and gaps. Just be sure to sand off any exposed
epoxy. There may be some bits that show
up in the joints, but they will be thin and no more noticeable than the edges
of the wood plys.